App Inventor for Android is an open-source web application originally provided by Google, and now maintained by the Massachusetts Institute of Technology (MIT). This post is a step-by-step guide to creating a 'Hello World' app with App Inventor.
App Inventor allows newcomers to computer programming to create software applications for the Android operating system (OS). It uses a graphical interface, very similar to Scratch and the StarLogo TNG user interface, which allows users to drag-and-drop visual objects to create an application that can run on Android devices. In creating App Inventor, Google drew upon significant prior research in educational computing, as well as work done within Google on online development environments.
This step-by-step guide walks you through setting up App Inventor, explores the development environment and gets your app running on any Android device. This is the first of a series of posts introducing key App Inventor features.

Prepare our Development Environment
The first thing we need to do is open the App Inventor tool on our laptop and connect it to an android device to run our app on. Set up instructions are available at http://appinventor.mit.edu/explore/ai2/setup.html
The recommended method is via wifi which requires minimal faff. Some wifi network's security settings can stop App Inventor working in this way. App Inventor website gives clear instructions on how to solve the issues or work around by either using an emulator on your computer or connecting your computer to your android device by USB. As it is the recommended method, and by far the best and easiest, we will assume we are all able to use the wifi connect method between computer and android device.
Step 1: Connect your laptop and android device to the same wifi network.
Step 2: If you don't already have a google account sign up for one at:
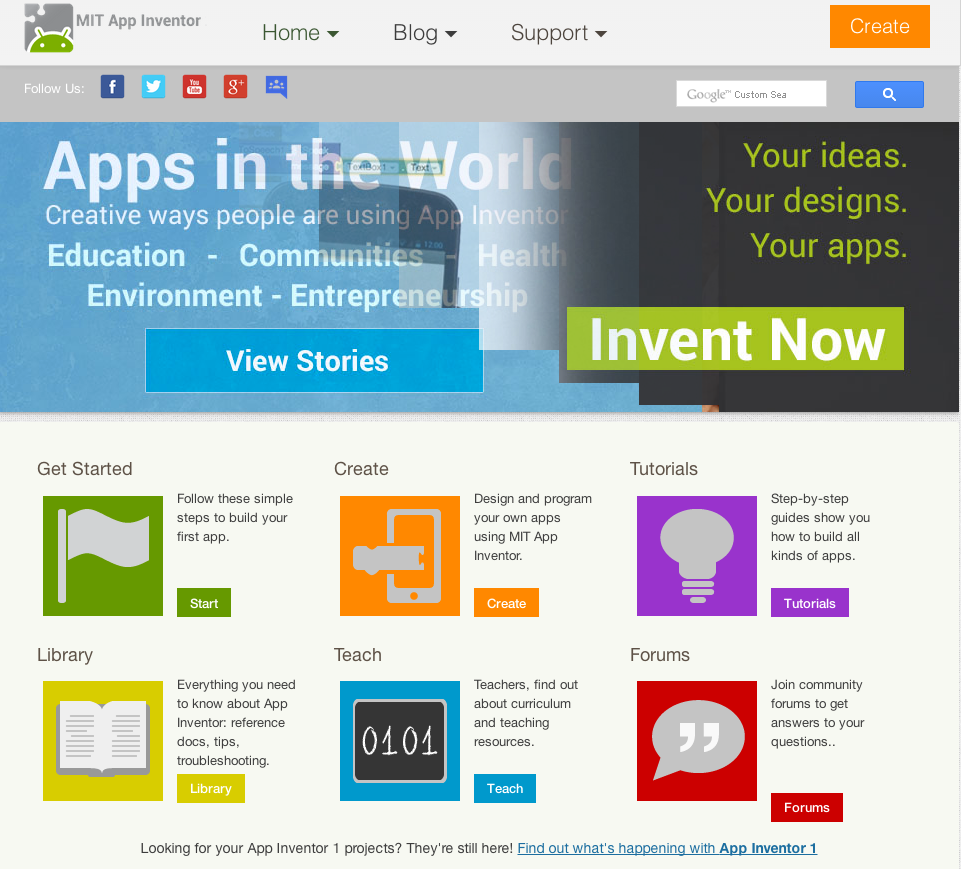
Step 4: Click on one of the Create buttons
Step 5: You may be asked to sign-in to your google account now
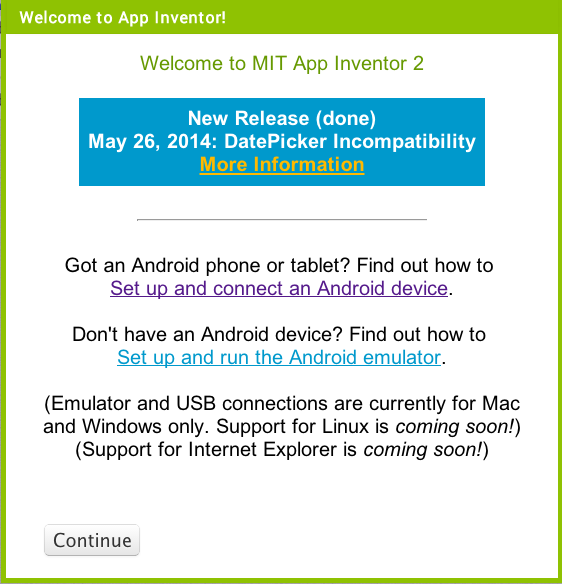
Step 6: Once logged in, you will see a pop-up box asking you to set-up your android device. Click on the continue button. If you need information on how to connect your laptop and android device to each other use the hyperlink to get instructions on how to do this. As mentioned at the beginning we will be using the wifi connection method.
Step 7: On your Android device download 'MIT AI2 Companion' from the Play Store which has the following icon.

Create your first androind application
Our starting view is the 'My Projects' page which is always accessible from the Project menu.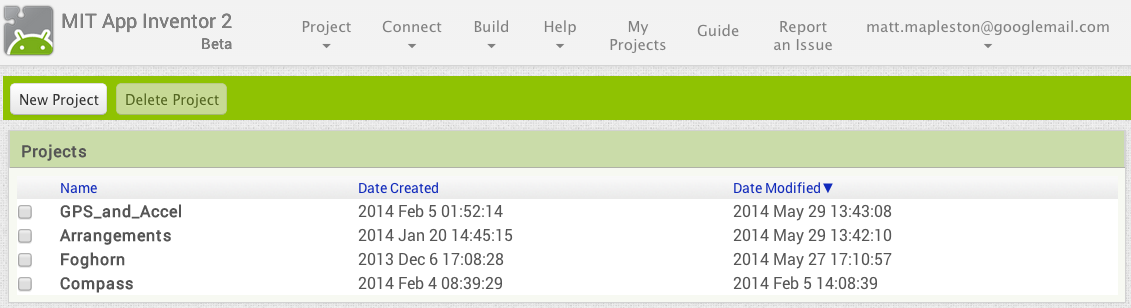
Initially this will be empty so we will create a new project: click on the New Project button and create a new project called 'HelloWorld'.
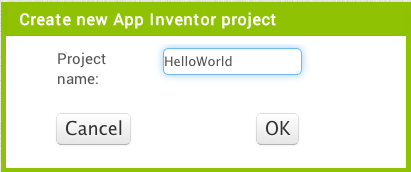
When you press OK the display will change to the Designer screen:
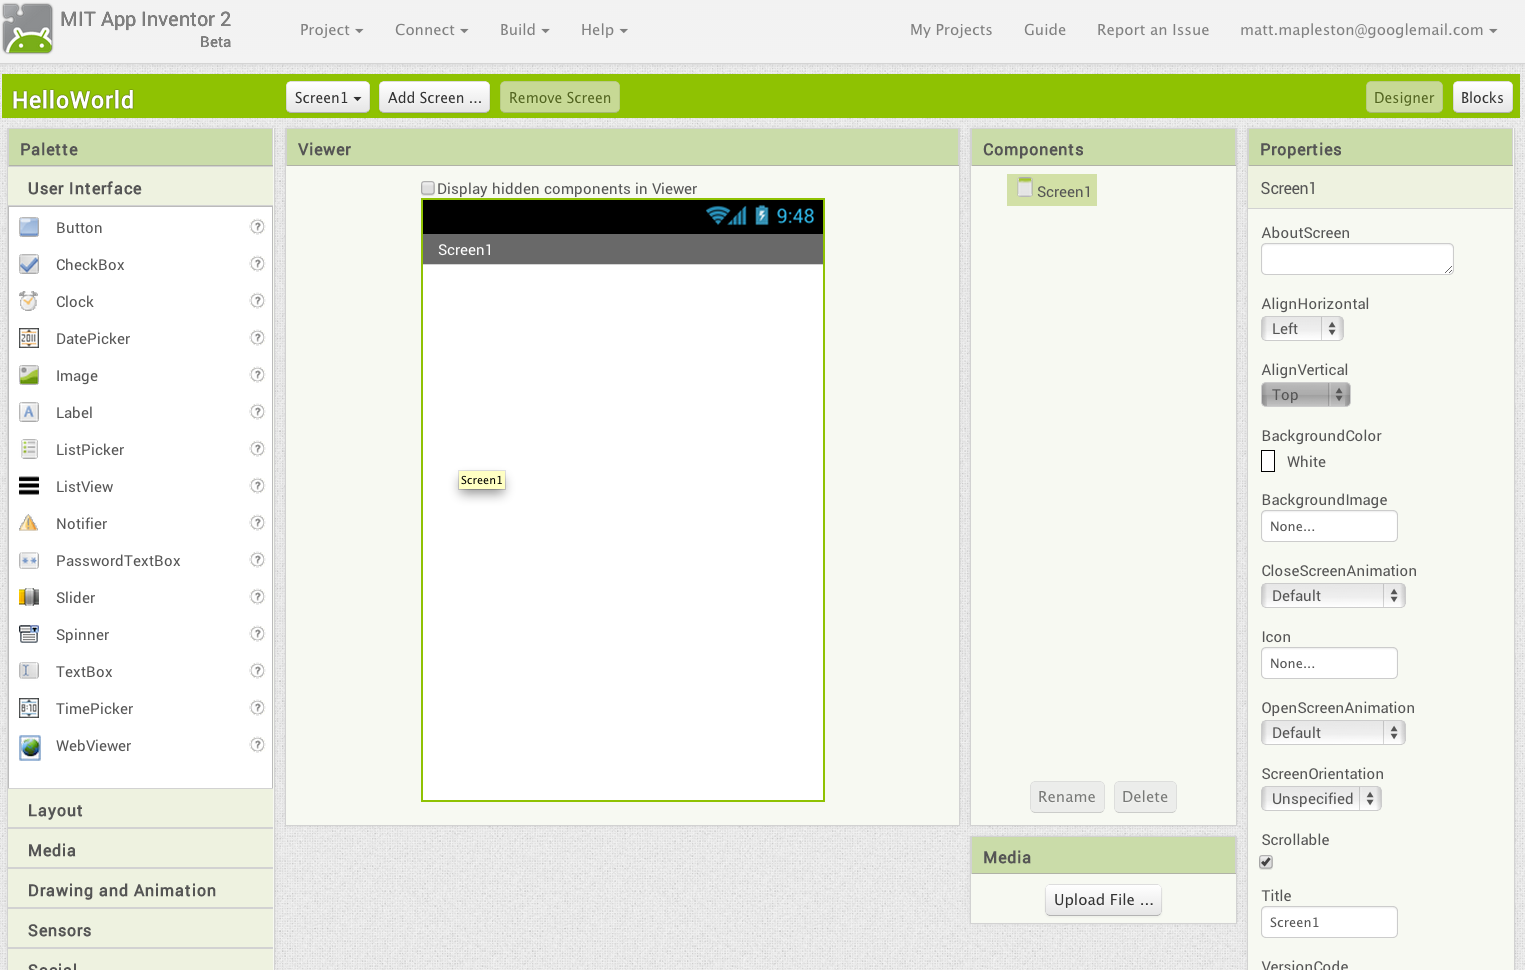
Note the main areas: Component Palette, Viewer, Components, Media, Properties. Also note the Designer and Blocks buttons. Click on the Blocks button to see the Blocks screen:
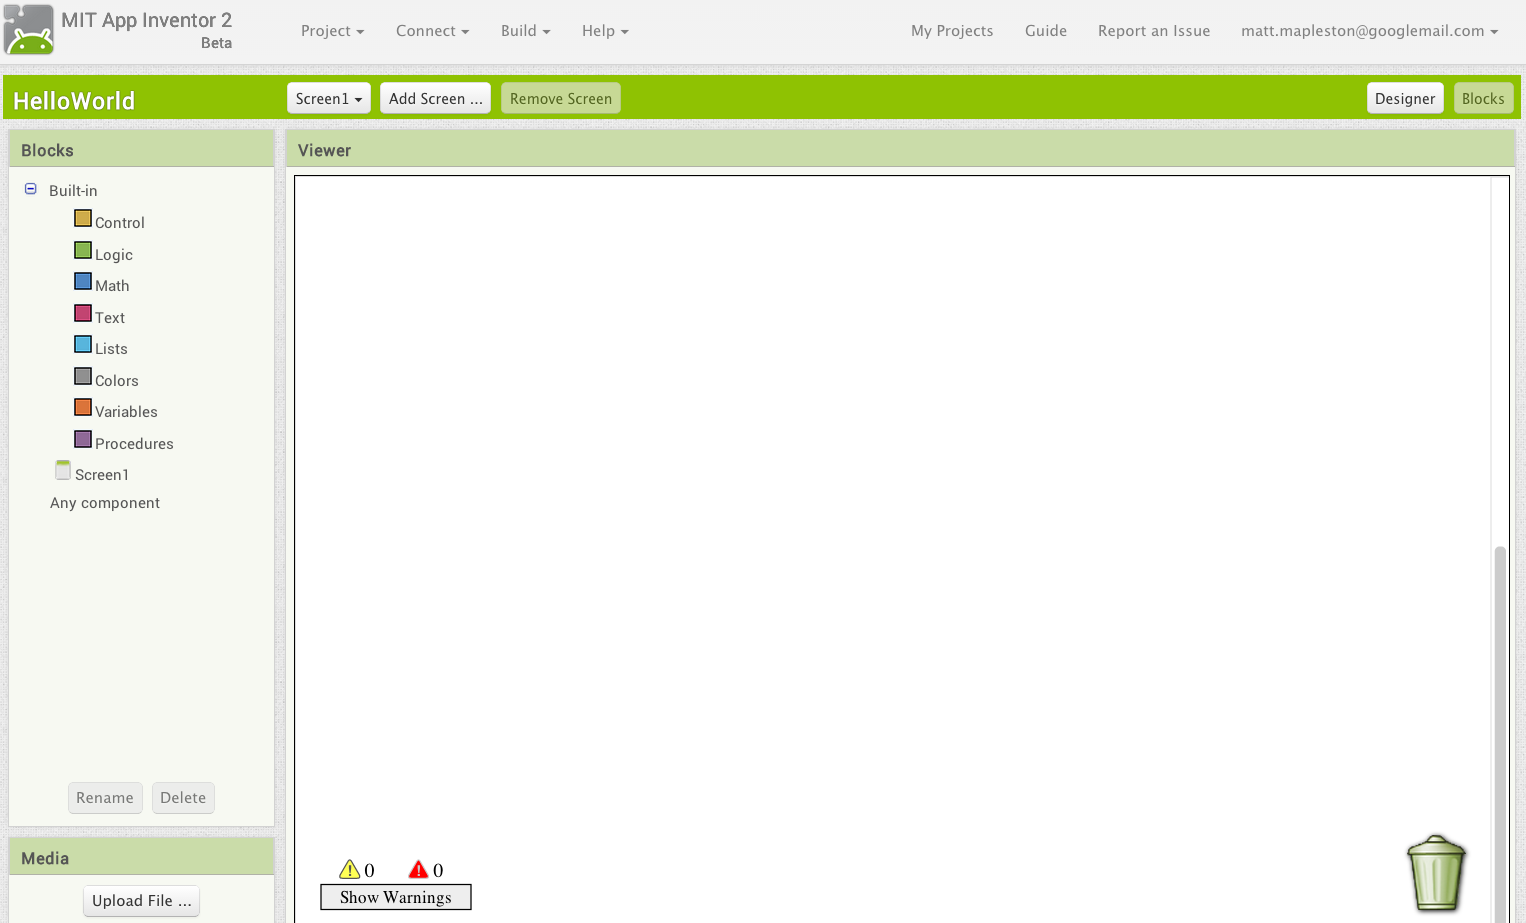
Main areas: Blocks pane: with Built-in and Screen1 groups; Media pane; Viewer pane
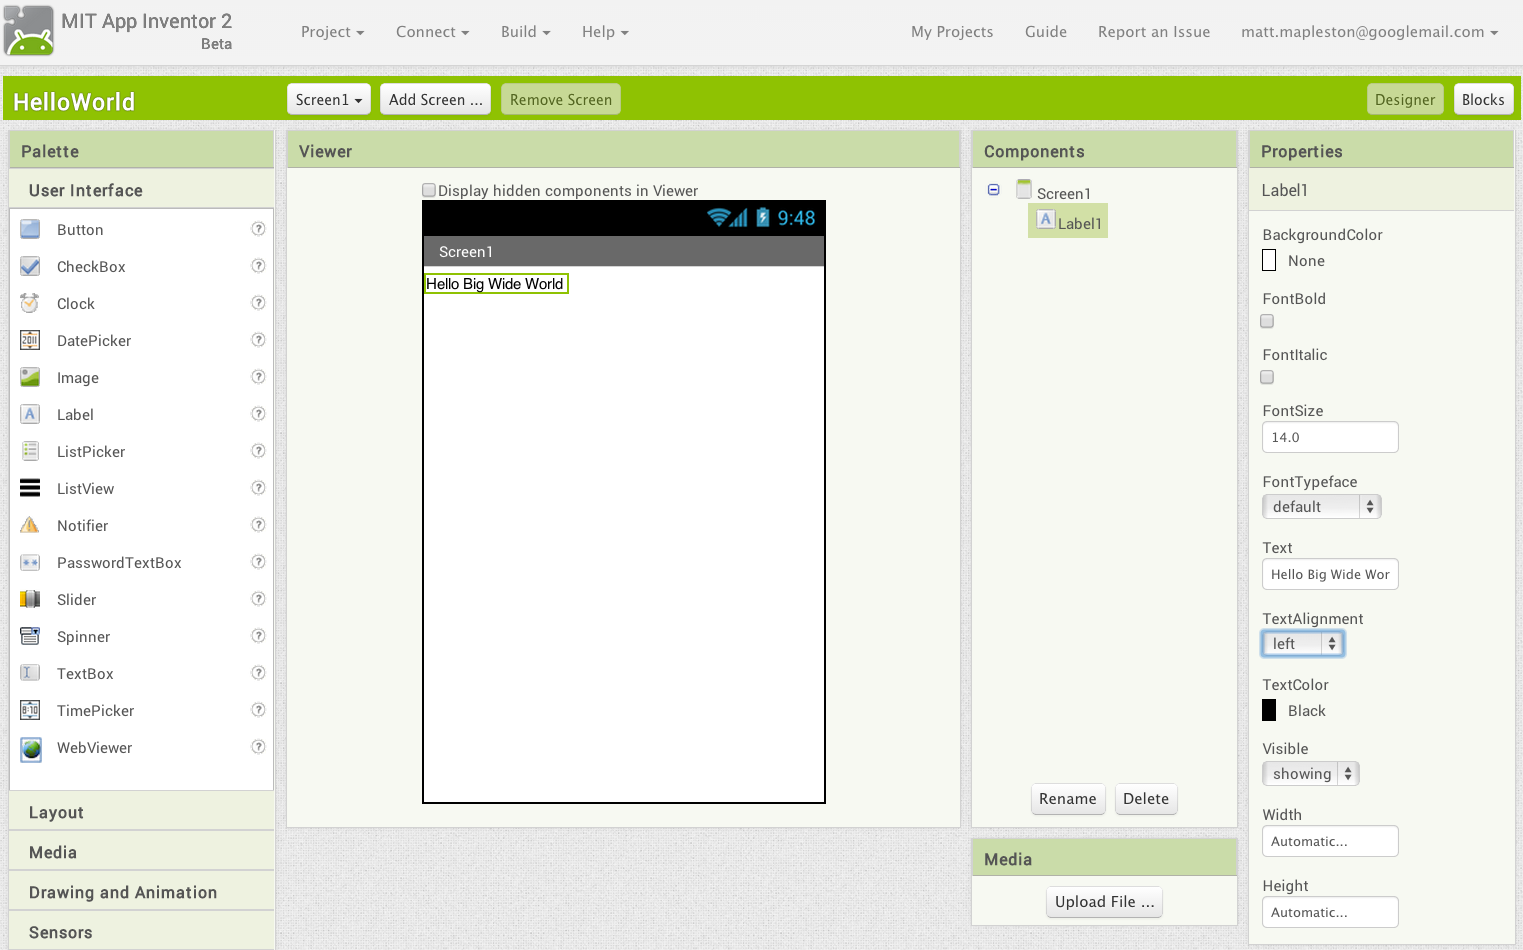
Go back to the Designer view and drag a label onto the viewer, notice the new item in the Components list, change the Text property of Label1.
Run the app on your android device
Open MIT AI2 Companion on your android device. In AI2 on your laptop's browser choose from the menu Connect>AI Companion to bring up a new window:

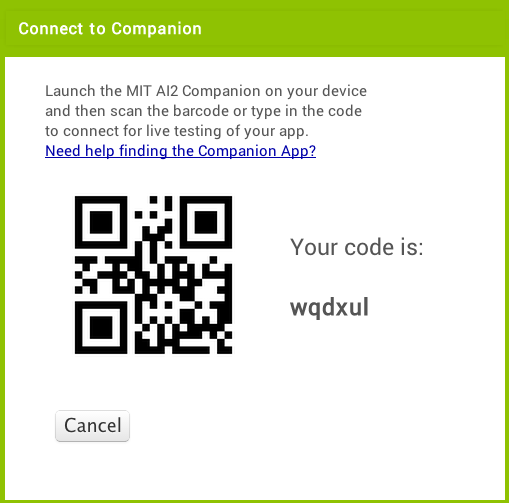
Back on your Android device, use the MIT AI2 Companion to either scan the QR code or type in the code on your android device.
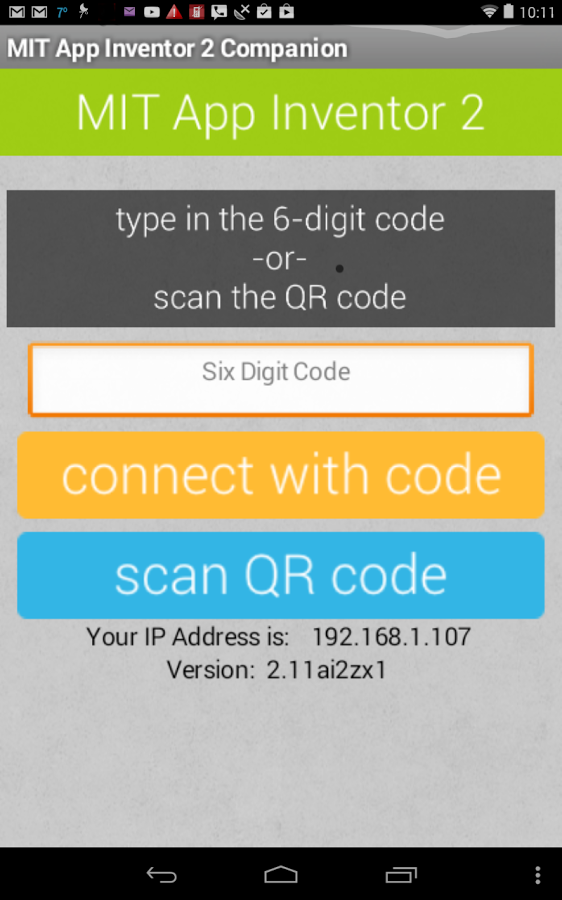
Now you should see your HelloWorld app running on your android device. It's important to know that the link between laptop and android is live. Check this out by changing the Text property of your label from 'Hello World' to 'Hello Big Wide World' and watch it change on the android device shortly after.
No comments:
Post a Comment